Are you facing trouble with Wi-Fi not working on Android devices? Wondering why is my internet not working on my phone? If your answer is yes, then this blog will help you to fix Wi-Fi not connecting on Android issue.
Sometimes many users face issues while accessing the internet or doing some important work and suddenly Wi-Fi turns off or disconnects automatically. But you don’t need to worry, as I will provide you with various solutions to fix the error.
So, let’s read further to know how to fix Wi-Fi not working on Android phone.
- Restart Your Android Phone
- Reboot Your Router
- Forget and Reconnect the Network
- Check the Wi-Fi Settings
- Boot Your Android Device in Safe Mode
- Turn-off Battery Saver mode
- Ensure Your Phone Is Within Range
- Change the Wi-Fi Password
- Check and Update Android OS
- Set up a Static IP Address
- Reset Network Settings On Android
- Factory Reset Your Device
- Advanced Way To Fix Wi-Fi Not Working On Android Phone (Suggested)
Reasons Behind Android Phone Not Working On Wi-Fi
There can be several reasons for Wi-Fi not working on Android. Some of them are listed below-
- Internet not connected properly
- Some kind of restriction from the router
- Broken settings of internet on Android device
- Incorrect password
- Authentication error on Wi-Fi
These are some of the common issues that lead to Wi-Fi errors on Android phone.
How To Fix Wi-Fi Not Working on Android Phone- Best Methods
Now, it’s time to check out all the possible methods that will help you to troubleshoot Wi-Fi not connecting on Android and different devices.
So, let’s move ahead.
Method 1: Restart Your Android Phone
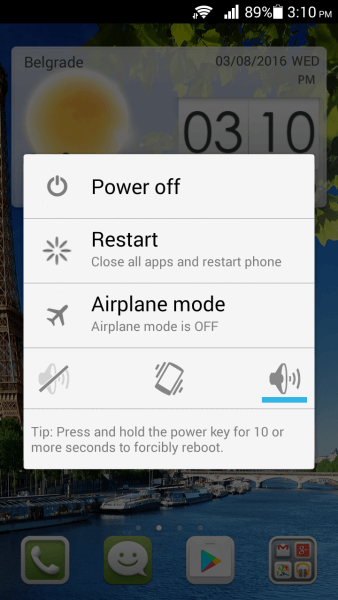
Restarting your phone is the easiest way to solve most the problems. To restart your Android phone, first press the Power button on your device for a long time. Then select the Power Off option that appears on the screen and click on that.
Now your phone is switched off. Again, press the Power button to restart your device. After restarting your phone, now check whether your problem is solved or not. If not, then move on to the next solution.
Method 2: Reboot Your Router
If your device is not having a Wi-Fi connection problem, then the router can be the reason for Wi-Fi not working. You can fix it by rebooting the router.
So, press the Power button of the router to switch it off and after a few minutes again press the Power button to turn it on. Some routers have a plug-in system. Just simply plug and unplug it to restart your router. Now after restarting, let’s connect your device again and see if the issue is resolved.
Method 3: Forget and Reconnect the Network
If your device can connect to any other Wi-Fi network then there must be some fault in your device’s Wi-Fi settings. You can fix it by forgetting other networks saved on your device. Here is how you can forget and reconnect the network: –
- First, go to Settings > Click on the “WLAN” option and choose network by simply pressing the already connected network > click on Forget Network and delete all the saved networks you were connected to before.
- Now, go to that place where a Wi-Fi signal is available
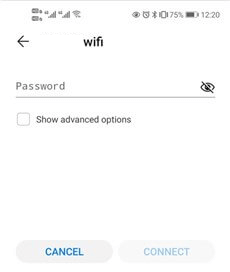
- Next, long press on the network and connect to the network again by entering your password
- By doing this, your Android device will get a new IP address and hopefully, Wi-Fi will work again as usual.
Method 4: Check the Wi-Fi Settings
You need to check your Wi-Fi settings if your device is unable to connect or disconnected after you connect it. There might be the reason that you have not turned on your Wi-Fi before connecting your device or switched off it mistakenly.
You don’t need to stress yourself as it can be fixed. To check Wi-Fi settings – Swipe down your notification bar and see whether your Wi-Fi is turned on or not. Or move on to Settings then type Wi-Fi on the search bar and see if it is on or off.
Method 5: Boot Your Android Device in Safe Mode
When your device is unable to connect to the Wi-Fi network but connects with other devices, then the problem must be in your phone. The best method to fix it is to boot your device to safe mode.
Follow the below steps to boot your device in safe mode:
- Switch off your Android device by pressing the Power button.
- Now turn on your device by pressing the power button again, but don’t forget to press the Volume Up and Down button at the same time.
- You will see the option Safe Mode appears on the screen of your device.
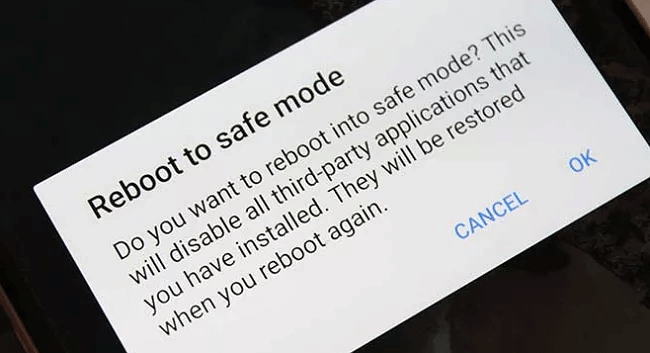
- Now your device will boot to safe mode and connect to the internet again to see if it is working.
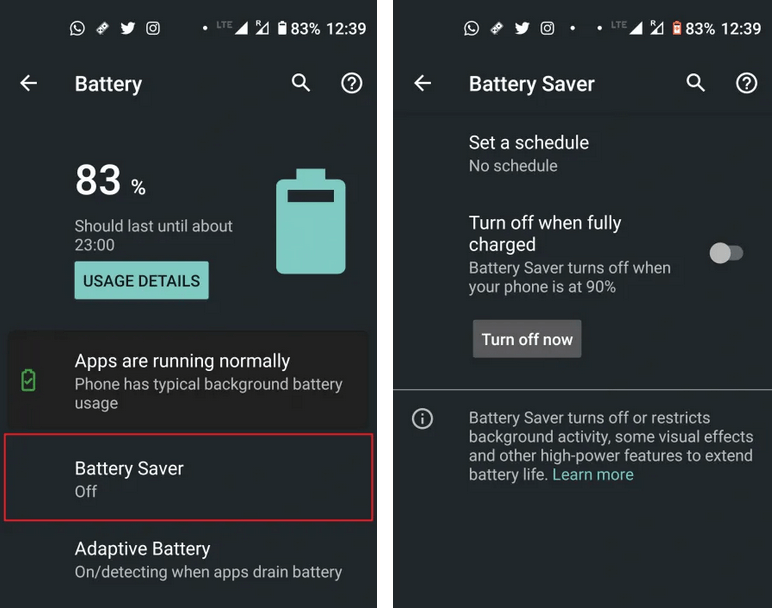
Method 6: Turn off Battery Saver mode
All Android phones have a battery-saver mode option. It helps to prevent any other app from running in the background when your battery is almost dead. It also restricts your connectivity features like Wi-Fi and Bluetooth.
When you Switch on your battery saver mode, it will prevent some of your inbuilt apps like phone calls, text messages, etc. And you may not be able to use any kind of connectivity features. So, you need to turn off your battery saver mode option to use a Wi-Fi connection.
Method 7: Ensure Your Phone Is Within Range
To get the best connection speed on your phone, it needs to be connected within a proper Wi-Fi Range. Here I have mentioned the device range that will be perfect for using Wi-Fi without any problem.
- Within 30 feet range, you will have a good connection and speed from the Wi-Fi.
- In the 30 to 50 feet range, it will be usable but connection speed will become slow.
- More than 50 feet, your device will lose its connection and will stop working.
Method 8: Change the Wi-Fi Password
Did you have checked your password periodically? If not, then it’s time to check whether your password is being used by any third person and it may slow down your Wi-Fi. By changing your password, you will not allow anybody to access your network and it may fix your Wi-Fi problem.
This way you can change your Wi-Fi password:
- Open Wi-Fi settings on your PC.
- Change your Wi-Fi password according to the router (different brands have a different methods).
- Put a strong password in an alphanumeric way and save it.
- Restart the router and connect your device by putting in a new password.
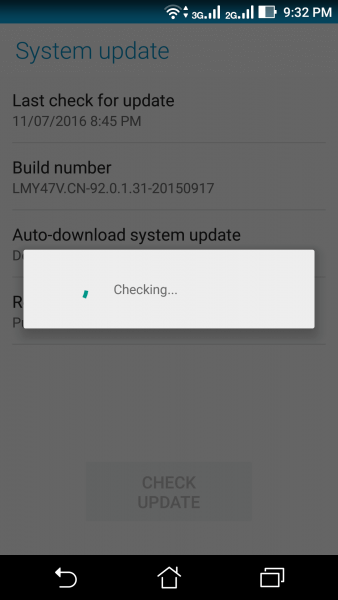
Method 9: Check and Update Android OS
If you update your Android device timely, it will reduce your bug problem and also fix Wi-Fi not working on Android issues. You can check for updates on your device by simply opening the settings of your phone > About phone > System update > click check for an update to see if you are using the latest one or not.
If any update is available then simply click on the Update option and make your device run in the latest operating system. After updating, check if the error is fixed or not.
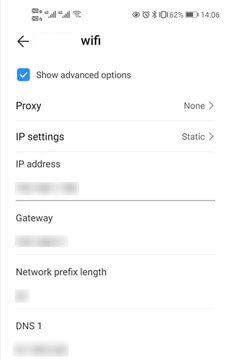
Method 10: Set up a Static IP Address
The IP address that we can manually set up is known as a static IP address. Whereas the IP address that is automatically owned is the dynamic IP address and gets changed when you restart the router.
If you have any kind of fault in your IP address, then you can change it by resetting your IP address manually. To set up your static IP address you need to follow the below steps:
- First, open Settings on your device
- Now, click on the WLAN option
- Next, press the static IP address you would like to set
- After that, click on Modify network and show advanced options
- Here, change IP settings from Dynamic to Static
- Then, you can enter the IP address, Gateway, DNS, etc
- At last, tap on the “SAVE” option
That’s it.
Method 11: Reset Network Settings on Android
Another method you can follow is by resetting your network on your Android device. It will remove bugs and allow you to connect your device to any network.
Below are the methods to reset your network settings-
- Open Settings on your device
- Type the Backup & Reset option in the search bar
- Click Network reset settings and reset your network
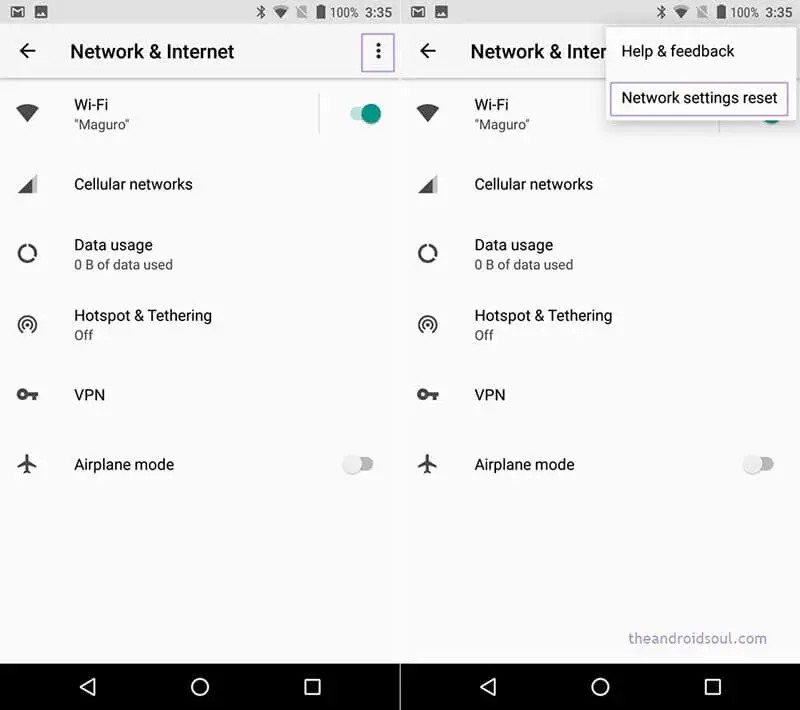
- Enter PIN or PASSCODE to confirm the reset
Now reconnect your phone to the Wi-Fi network to see if the changes have taken place.
Method 12: Factory Reset Your Device
If all the above solutions are unable to fix Wi-Fi not working on Android issue, then you need to factory reset your device. By doing this all your personal information will be removed from the device.
So, before performing this action ensure that you have taken the backup of your device.
Do factory reset by following the below steps:
- Open Settings on your Android device
- Now, go to System, then move to Advanced and then go to Reset Option
- Next, click on Reset and put PIN or PASSWORD to complete the action
- After that, click on Erase Everything option
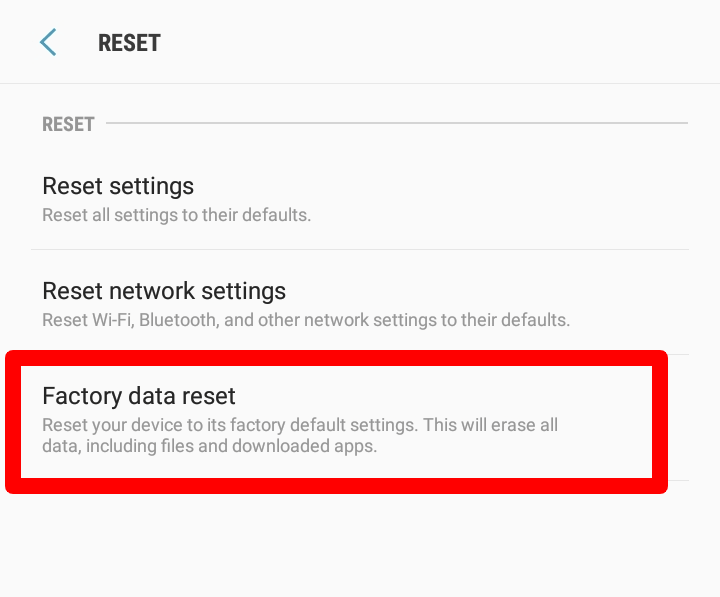
- Next, wait until the process is over
At last, restart your device and connect to the internet again. Hopefully, this method will help you get rid of the issue easily.
Method 13: Advanced Way To Fix Wi-Fi Not Working On Android Phone (Suggested)
In addition to all the above-suggested solutions, you can also go for the Android Repair tool. This professional program works effectively on how to fix the wifi when it’s not working. The tool is easy to use and works for any kind of issues or errors on an Android phone.
It easily resolves the error of wifi not working on Android phone but working on other devices. Apart from the Wi-Fi problem, this tool fixes other issues as well as Android stuck in boot loop, Android settings has stopped, Android system recovery 3e, IMS service has stopped, Google maps not working, etc.
The repair tool fixes wifi not connecting on Android with one click. So without any delay, simply download and install this amazing software to fix my phone not connecting to wifi on Android.
Android Repair- 1 Click Repair Tool For Android
Easily fix any kind of issues or errors on Android by 1 click repair tool. Fixes any Android error without hasslefree:
- Ability to fix several Android system issues or errors like Black screen of death, apps keep crashing, stuck in boot loop etc.
- Helps to make Android system back to normal without any skills required
- Has the highest success rate to fix any types of Android errors


Conclusion
Android phone users generally come through several issues and Wi-Fi not working on Android is one of them. However, I have discussed several methods to tackle this kind of error with ease. Along with manual solutions, users can go for an automatic tool like Android Repair. It allows troubleshooting any kind of error with one click.

Kim Keogh is a technical and creative blogger and an SEO Expert. She loves to write blogs and troubleshoot several issues or errors on Android and iPhone. She loves to help others by giving better solutions to deal with data recovery problems and other issues.