Step 1: Connect your Android phone
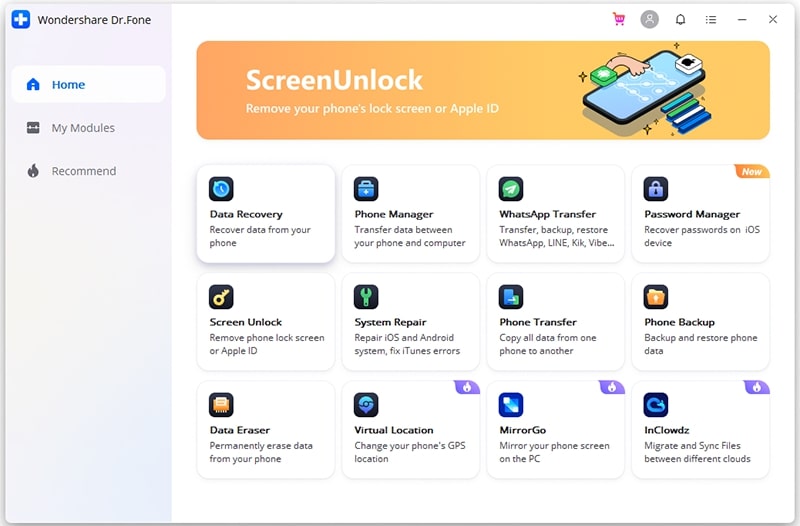
First, launch the Android Repair tool and look for “System Repair” and click on it
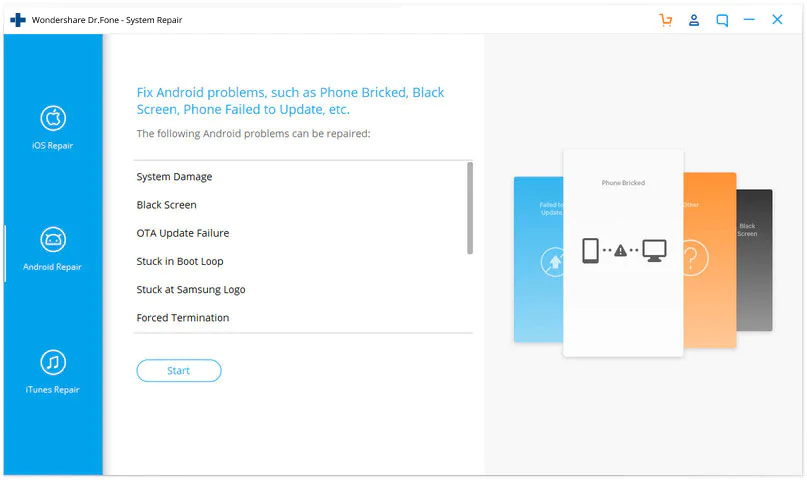
Now, connect your Android device or tablet to a PC using a USB cable and tap on “Android Repair“
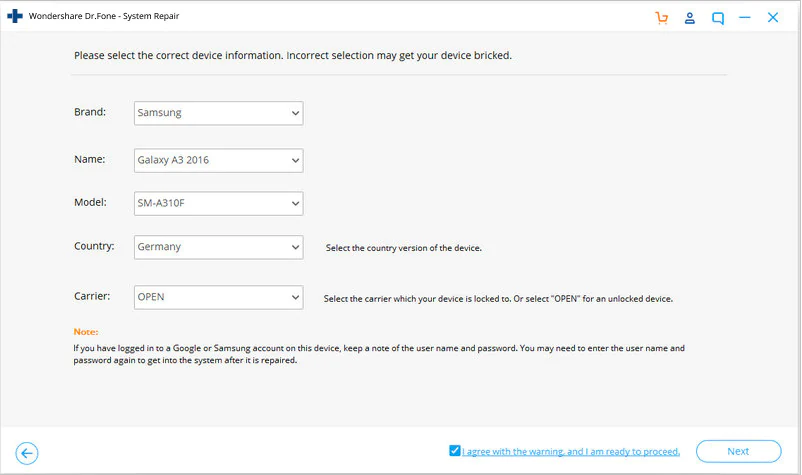
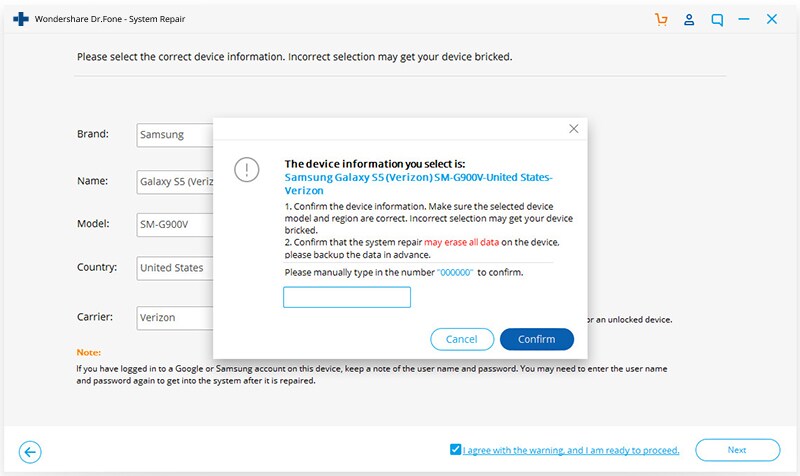
Here in the information screen, you need to choose the correct brand, name, model, country/region along carrier details. After that, confirm the popup and tap on “Next”
The software might delete all your data from the device. Simply type “000000” to confirm and move ahead
Note– It is suggested to create a backup of all Android data before using Android Repair software.
Step 2: Repair Android phone in Download Mode
Before you proceed further, it is important to boot the device in Download Mode. Just need to follow the below steps to boot the device in DFU mode.
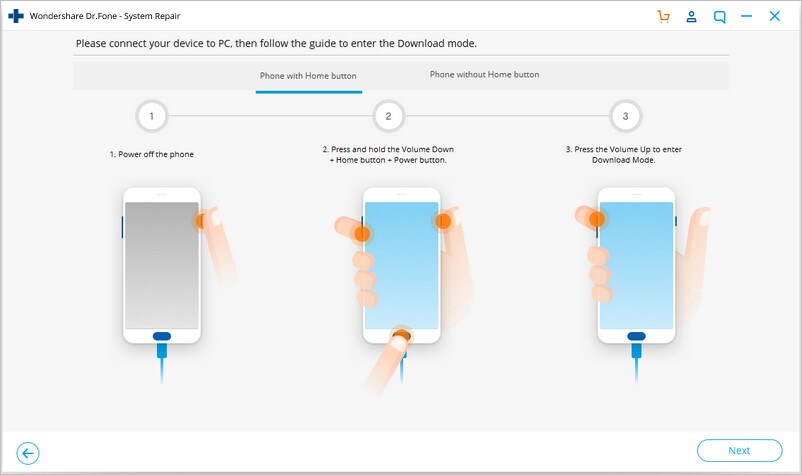
Phone with Home button:
- First, turn off phone or tablet
- Then press and hold Volume down + Home + Power buttons for 5 to 10 seconds
- After that, leave all buttons and press the Volume Up button to enter Download Mode
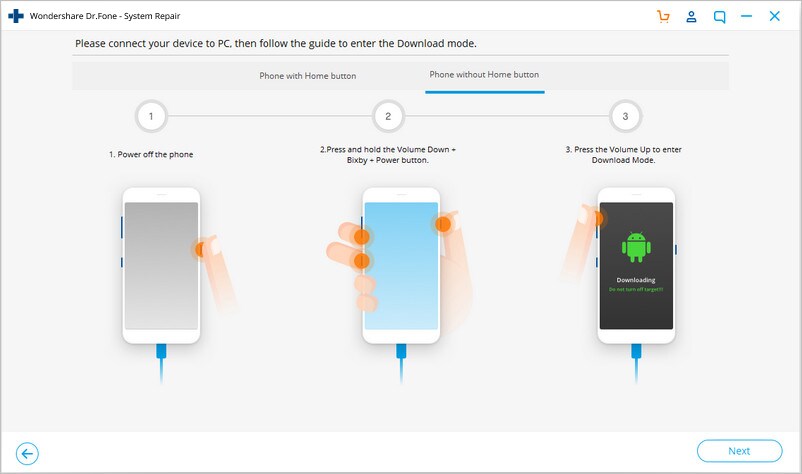
Phone with no Home button:
- Switch of your phone
- Now press and hold Volume Down + Bixby + Power buttons for 5 to 10 seconds
- Then leave all buttons and press the Volume Up button to enter Download Mode
After that, tap on “Next” and it will begin to download the firmware.
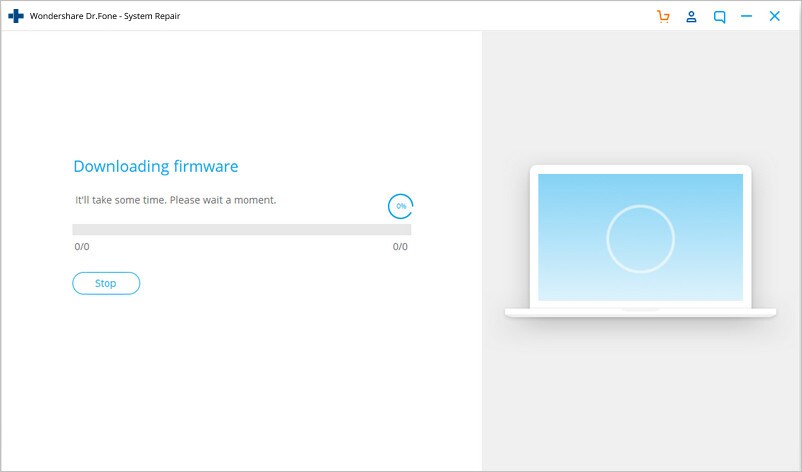
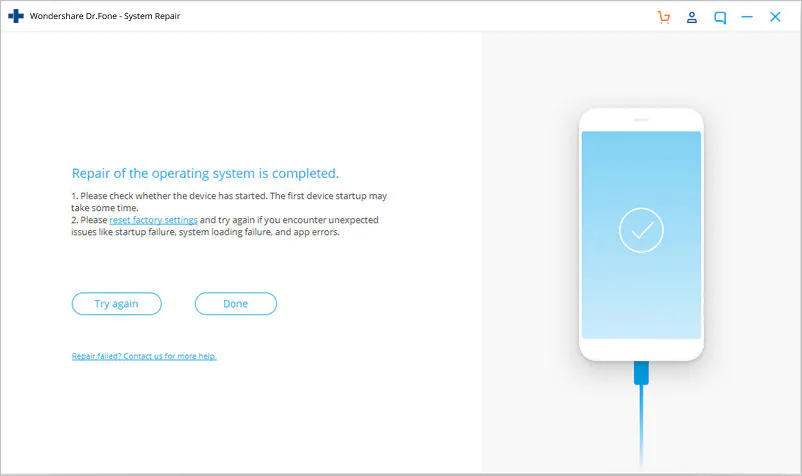
Once the firmware is downloaded and verified, the program automatically begins to repair the Android phone.
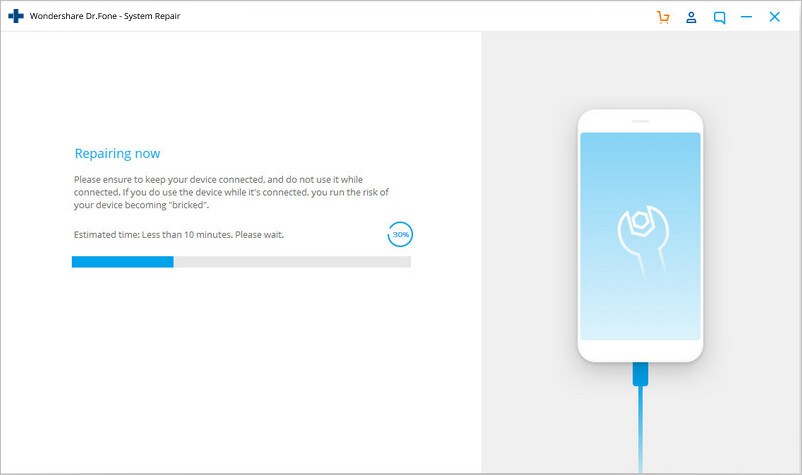
After some time, all issues or errors will be fixed from your Android phone.