Part 1: Auto-Detect and Fix iTunes Components Issues
Step 1- Launch iTunes Repair
First, open iTunes Repair and will detect your iTunes automatically along with its related components
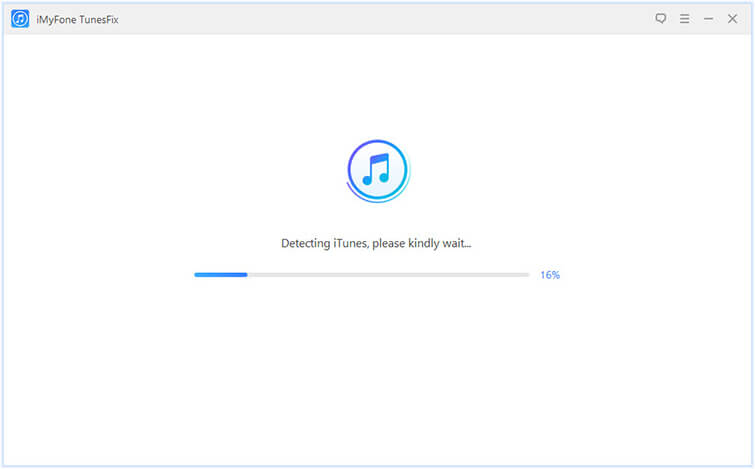
You will land to its home interface when there is no issue. But if there is a problem of iTunes lost or corrupted then you will see the details of lost or corrupted.

Step 2- Repair iTunes Components Issues
Now click on “Repair” and the repair process will start. Make sure your iTunes is connected with a stable network during repair
Note– You can simply click on the “Back” option if you don’t want to fix the components issues on iTunes.

Next, wait for the process to finish. When it is over, check iTunes issue is resolved or not.
Part 2: Repair iTunes Unknown Errors
When you fail to connect iTunes or when iTunes won’t update/install/restore/backup errors or others, then follow the below steps to fix it.
Step 1- Choose the Repair Mode
First, launch iTunes Repair and will detect your iTunes automatically. You will land on the home interface if there is no issue and then select repair modes

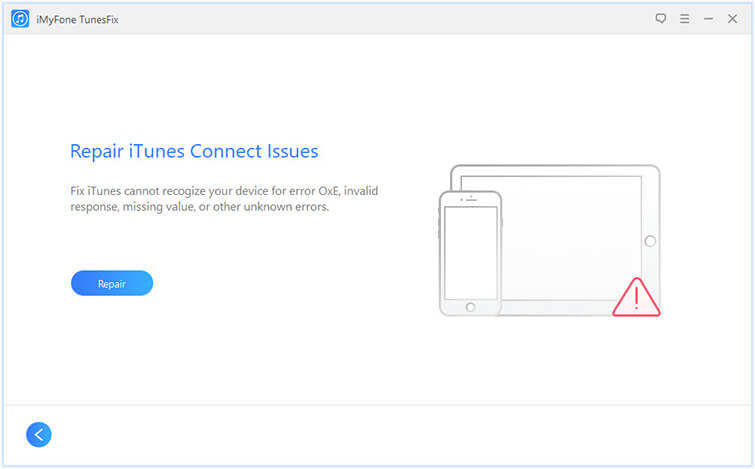
Click on “Repair iTunes Connet Issues” when you want to repair iTunes connect/detect issues
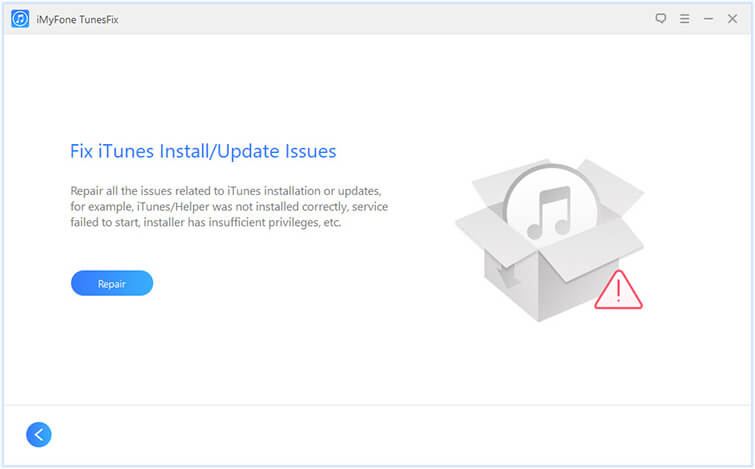
Tap on “Repair Backup/Restore Errors” to fix iTunes installation or updates issues
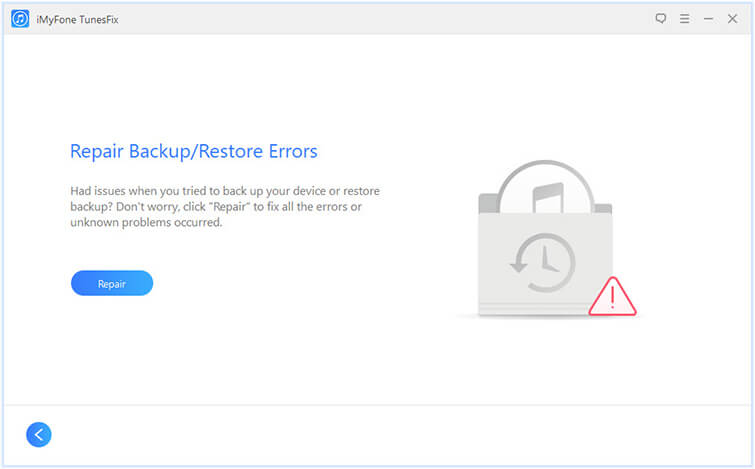
Click on “Repair Backup/Restore Errors” to fix error hat occurs while backup or restore iPhone
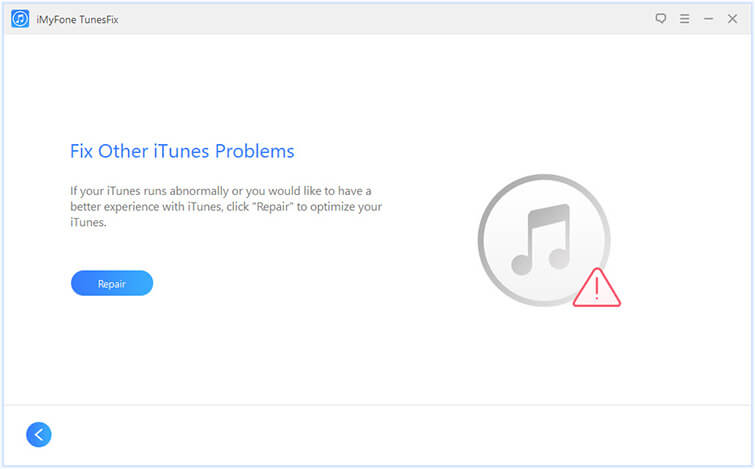
When you don’t know about the particular issue and want to fix it then click on “Fix Other iTunes Problems”.
Step 2: Allow To Repair Your iTunes
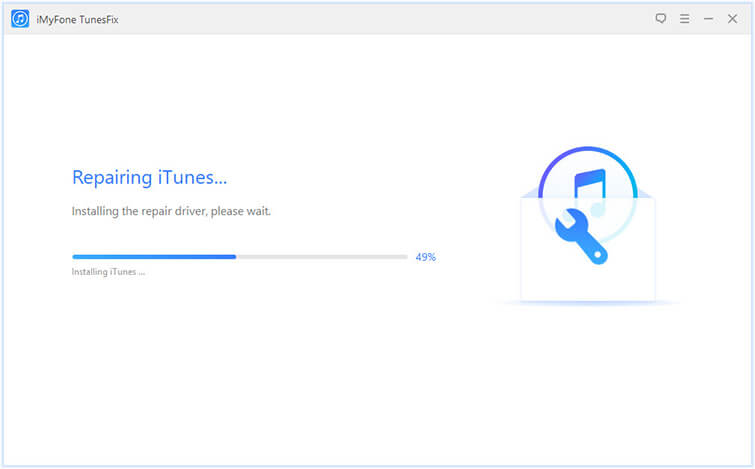
Now tap on “Repair” and the repair process will start. Don’t plug out and the connection should be stable
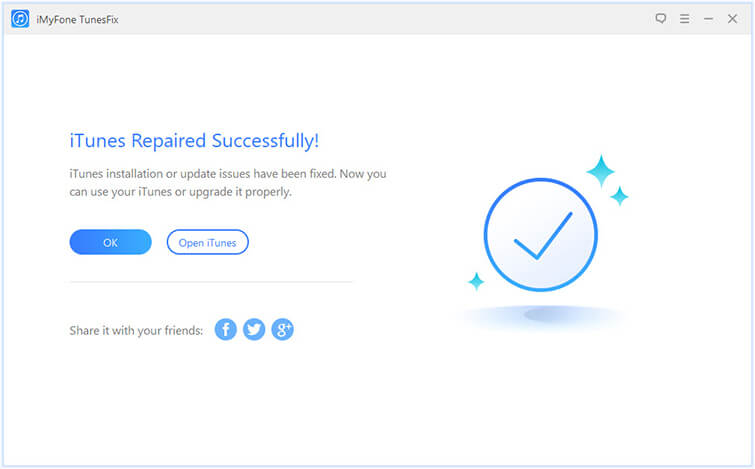
Once the repairing process is over, tap on “Open iTunes” to launch iTunes and try it.
Part 3: Clean iTunes in One Place
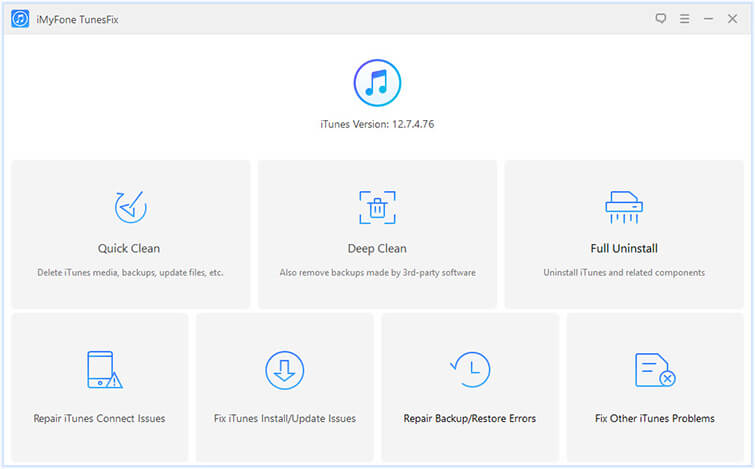
iTunes Repair offers two cleaning options: Quick Clean and Deep Clean. Select any one of your requirements.
Step 1: Choose the Clean Mode
Select Clean Mode when you are in the home interface

Now select “Quick Clean” when you want to clean iTunes media, iOS backup, software update files, cache, logs, cookies, and other junk files

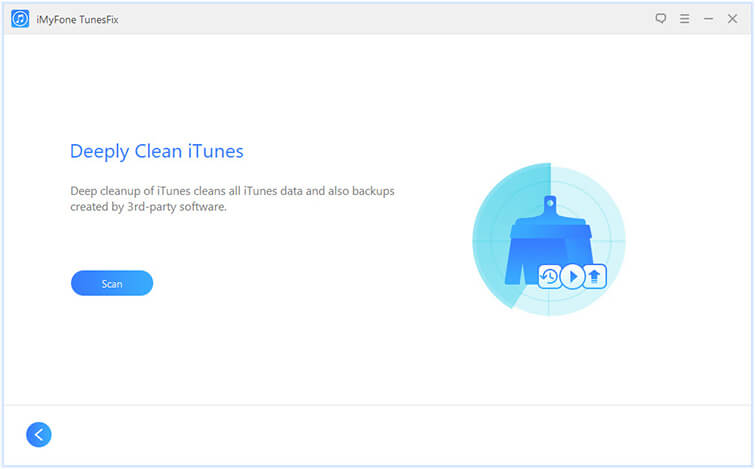
When you want to remove iOS backups that are created by any third party softwares then select “Deep Clean”
Step 2: Scan iTunes & Select Data
Tap on “Scan” and scanning process will start. After its done, preview them and choose the unwanted files to remove
Note– By default, all iTunes data will be checked and if you want then uncheck the files you want
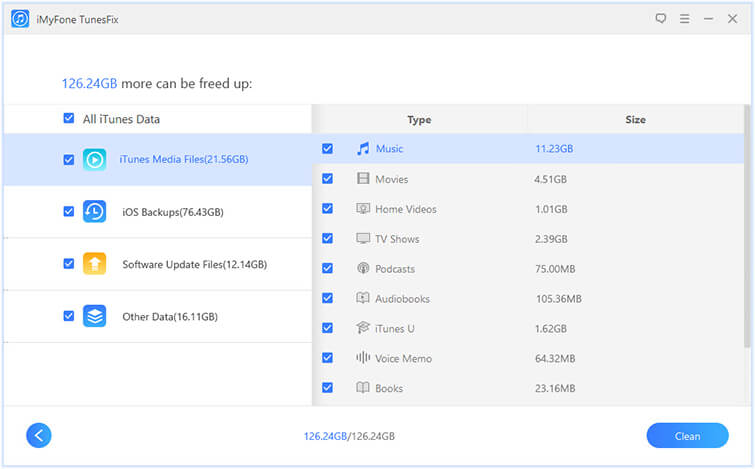
Step 3: Remove iTunes Files
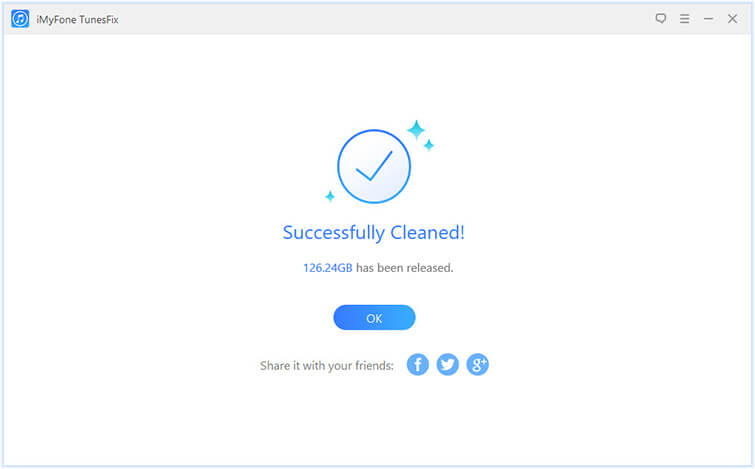
After selecting files, tap on “Clean” and the process will begin to delete checked files from iTunes
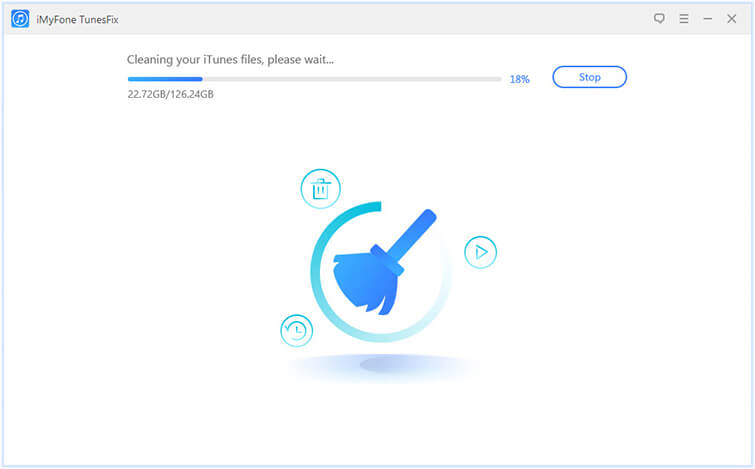
Once it is over, you will see the storage space saved.
Part 4- Completely Uninstall iTunes
When you want to remove iTunes completely then its full uninstallation will help to do that.
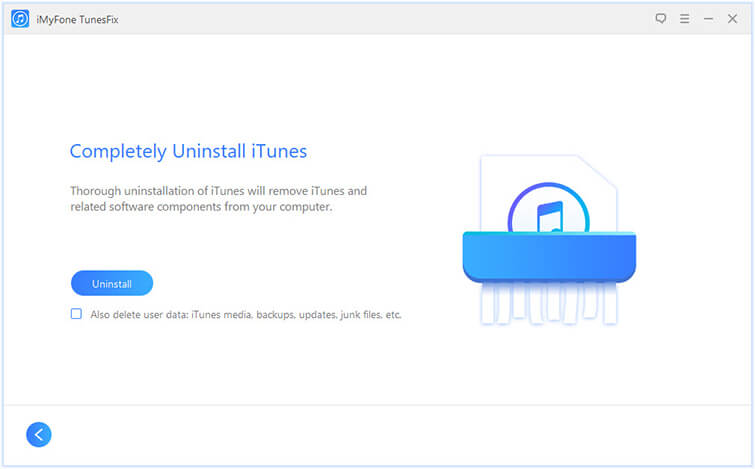
Step 1: Choose the Uninstall Mode
Click on “Full Uninstall” when you are in the home interface of iTunes Repair. This will guide you uninstall iTunes.
Step 2: Let It Uninstall iTunes
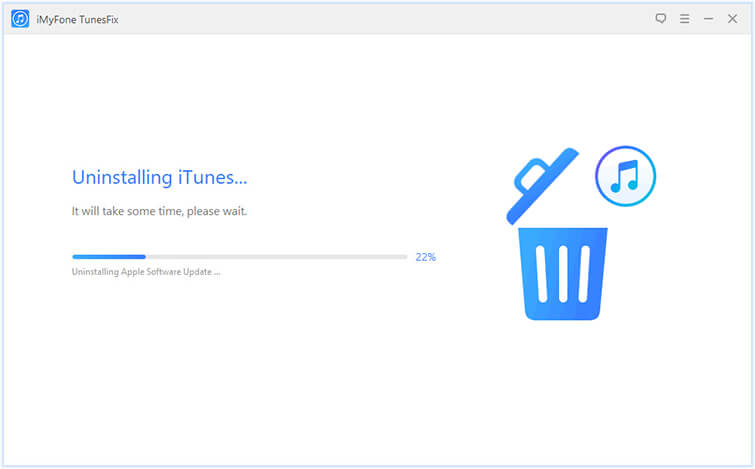
Now click on “Uninstall” and the program will begin to remove iTunes along with its software components from computer
Note– When you want to remove iTunes user data then tick mark on “Also delete user data…” under the “Uninstall” option before you tap on the “Uninstall” option. Doing this will erase iTunes media, iOS backups, iTunes/iOS update fails, and other files of iTunes.
Once everything is done, simply click on “Click Here” to reinstall iTunes you need.
