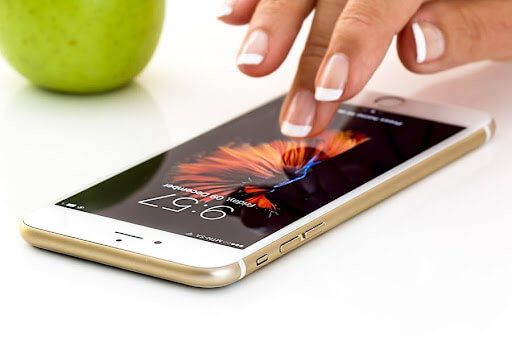
Managing files on an iPhone is easy; you need to be a little vigilant with how you name your files and the default location where you store them. When files are saved in an organized manner, you can locate them easily without spending time searching for them everywhere.
Files app on your iOS and iPadOS allows users to manage their files and store them constructively on their respective devices.
So, let’s first discuss the Files app and the function it offers.
What Is the Files App on iPhone?
The Files app acts as the centralized hub for cloud-based storage options, including Google Drive, Dropbox, and iCloud Drive. The app also stores documents that iPhone has created using other apps.
In the older versions, the only potential way to retrieve these files was by connecting the iPhone or iPad to the Mac and downloading using iTunes. But the Files app has transformed the way the users organize, store, and share the documents as it allows copying the iOS files at any location.
Print a Document
You can also select a document from the Files app and print it using your iPhone or iPad. However, you need to add a printer to the respective devices first. Moreover, you will need to have an AirPrint-enabled printer to resume quick and efficient connectivity.
For non-AirPrint printers, the task of printing a document from the iPhone or iPad is quite difficult. Make sure that the iPad and the printer are connected to the same network. For learning more about printing documents from an iPad, check out https://setapp.com/how-to/print-from-ipad.
You may also need to print a document while you are working on a project, and you need to gather relevant images on the topic. In that case, you can screenshot the image, save it on the iPhone and then print it by connecting to the printer via AirPrint.
Save all the screenshots carefully and make sure you won’t delete anything accidentally, and you may need them in the future. If anything gets deleted unintentionally, use a professional tool to recover deleted screenshots from the iPhone and save them on your computer.
Create a Folder in Files App

To create a folder, open an existing folder, drag downwards from the center of the iPhone screen and tap the three-dot sign. Next, click on New Folder. In case the New Folder Option doesn’t appear, you won’t be able to create a folder in that particular location.
Make Changes to File & Folders
You can rename, compress, duplicate, or perform other functions on the files and folders stored inside the Files app. Long-press the file or folders and select the appropriate option among Copy, Move, Duplicate, Compress, Rename, or Delete.
If you want to perform any particular action on multiple files altogether, click on Select, highlight the files you want to modify, and select an action from the bottom selection of the iPhone screen.
All the actions do not apply to all documents. For example, you cannot move or delete an app library. So, keep that in mind while selecting bulk files.
Mark Any Folder as Favorite
Click on the folder and wait for a few seconds, then tap Favorite. To find the items stored in Favorite, tap Browse.
Modify and Rearrange Documents
You can rearrange or modify the contents of a document using the Files app, but make sure the file is stored in a supported document version. Open the document, and select the page number from the top left section. Tap on the three-dots icon and select any of the following options.
- Delete: To delete the selected page from the document
- Rotate Right: To rotate the highlighted page right.
- Rotate Left: To rotate the highlighter page towards the left.
- Insert from File: To insert pages to the file after the selected page.
- Insert Blank Page: To insert a bleak page immediately after the selected page.
- Scan Pages: To insert pages from a scanned document after the selected page.
If you wish to rearrange a document, long-press the page you selected and drag it to a new location. Important to note that the Files app does not support all document formats.
Move Files & Folders Using Buttons

On your iPhone, you can move the files as well as folders using the buttons for easy and efficient usability. You May find this method simpler than managing and moving the files or folders using fingers.
To move the files and folders on the iPhone using buttons, click to open the selected folder and tap Select. Next, highlight the items you want to move. It could be a single item or multiple files. As you select the files, a checkmark will appear on the selected document.
Next, click on Move to transfer selected items to another storage location, such as your iPad or the cloud media. Select the desired destination where you want to move data and select the folder. Then click on Copy to move the file.
All the copies will be stored at the destination location, maybe, inside a folder. The original file will still appear at its original location.

Kim Keogh is a technical and creative blogger and an SEO Expert. She loves to write blogs and troubleshoot several issues or errors on Android and iPhone. She loves to help others by giving better solutions to deal with data recovery problems and other issues.
