Are you stuck on the annoying message “wifi stuck on obtaining IP address” on Android? Wondering why such an error is troubling you and how to fix it? If yes then don’t worry as this article will help you completely.
There are several errors, which are encountered by Android users nowadays. One of the common issues of them is, getting the error message of “Obtaining IP Address”.
This error message mostly arises when users are trying to connect their Android device to the Internet using Wi-Fi. Well, obtaining the error message “Obtaining IP Address” is a very annoying issue, especially when you need to connect your Android device to Wi-Fi to do some important work.
Thus, if are the one who is getting this error “Obtaining IP Address” while trying to connect your Android device to the internet using Wi-Fi, then don’t you need to worry about it, as we are here with some effective solutions to fix Wi-Fi stuck “Obtaining IP Address”.
In the whole blog, I have explained about what are the causes of this issue and different solutions to fix Wi-Fi Stuck “Obtaining IP address”.
Causes of Wi-Fi Stuck Obtaining IP address issue
The question may arise in your mind, what are the causes that lead to the issue of Wi-Fi stuck. So, before knowing the solutions to fix Wi-Fi stuck “Obtaining IP Address On Android” check out the following possible causes of this issue.
- The wireless security settings were changed on the router
- Wireless interference
- Weak signal
- The glitch of the Android device
- Whitelist / black-list settings in MAC address settings on a router
- The glitch of a router
How To Fix “Obtaining Wi-Fi IP-Address” Error On Android?
So, here are some of the easiest solutions to fix the issue for Android devices. Below we have listed numerous ways to fight with Wi-Fi Stuck “Obtaining IP Address On Android” issue: from simpler to complicated solutions.
- Reboot Your Android Device
- Reconnect To Wi-Fi Network
- Set Up WPA2-PSK On Your Router
- Rename Your Device
- Modify Some Setting
- Check for Software Updates
- Reboot Your Router
- Delete Obsolete Files
- Switch Off Network Notification
- Set Your Device To Airplane Mode
- Assign A Static IP
- Reset Network Settings
- Factory Reset Your Android Device
Solution #1:- Reboot Your Android Device
No matter whatever error you come across in your Android device, restarting has the power to fix small glitches easily. So, the first action that you should take to fix Wi-Fi stuck in obtaining IP address is simply rebooting your phone. Doing this will refresh your device and can fix the error you are facing.
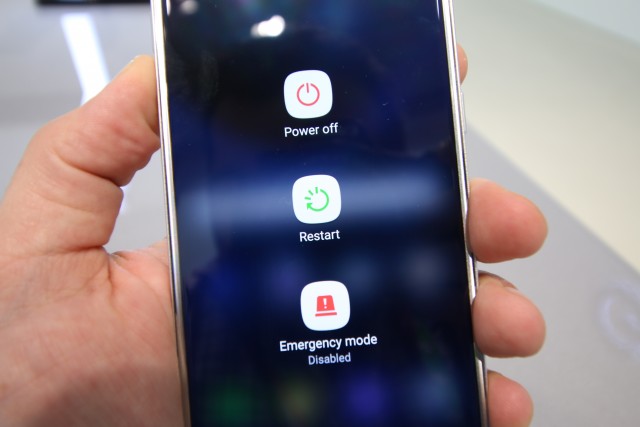
Just press and hold the Power button unless you get the Restart option on the screen. Otherwise, you can select Power Off and hold the Power button to switch off your device.
But if restarting does not help you to resolve the error then move to the next solution.
Solution #2:- Reconnect To Wi-Fi Network
Usually, the problem gets solved when you reconnect to a Wi-Fi network. Follow the below steps to learn,
How to do so:-
- Click on setting >> WiFi/WLAN
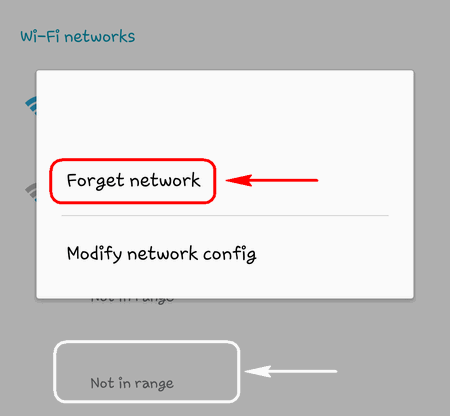
- Choose your Wi-Fi SSID
- Now, go to its menu option >> Forget Network and reconnect to the Wi-Fi.
Solution #3:- Set Up WPA2-PSK On Your Router
Firstly, you need to go to the router’s web interface. If you do not know the IP address of your router, read this blog about how to find out the router’s IP address on Android.
- Search the Wireless security page or anything similar.
- Choose WPA2-PSK as your security mode.
- Now, select AES as the Encryption type.
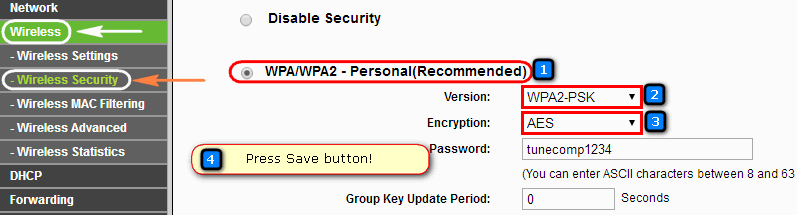
- Then, click on Save or Save settings.
- Forget the Wi-Fi network on Android
- Reconnect to it now.
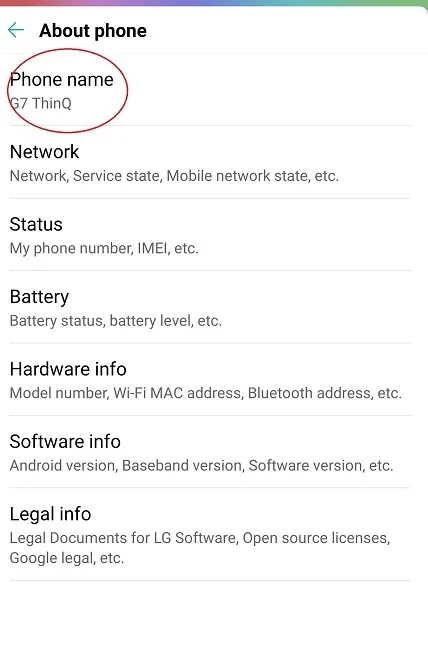
Solution #4:- Rename Your Device
According to some users, this connectivity problem may be solved by renaming the device name. You can also try this solution if it works.
- Firstly, go to the Wi-Fi setting and then rename your device. You can change the device name such as ‘android_482590’ to any simple English word.
Solution #5:- Modify Some Setting
If the above solution didn’t work for you. You can try this solution. Since the mobile device has a vigorous IP address, there is one way to solve this issue is, to assign a static IP address to your device. For this:
- Click on Settings >> WiFi/WLAN >> Turn on the Wi-Fi
- Go to the Wi-Fi options menu or long-press your WI-FI name
- Now, you have to scroll to find the IP setting. (For some devices, it may be hidden under the modify setting)
- Switch from DHCP to Static
- You need to assign an IP address
Now, save all the changes done. Also, if you want to close all the running apps and want to restart your Wi-Fi connection. Simply, turn off the device and then on again.
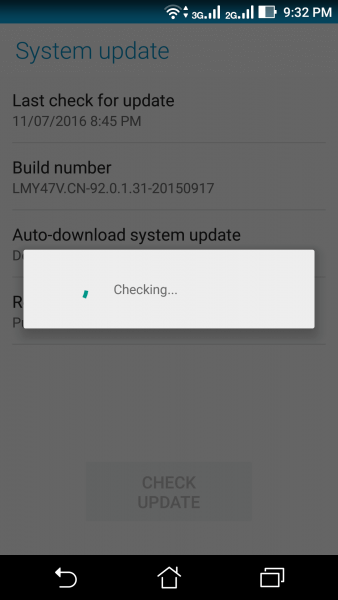
Solution #6:- Check for Software Updates
When your phone is not updated to the latest OS then various types of errors or bugs can occur and interfere with the performance of your phone. Therefore, you should always check if any update is available to tackle the issue.
Follow the steps:
- First, open Settings on your device
- Now, click on System Update or About Software
- Here, check if any update is available and then tap on the Download and Install option
After updating your phone, check Obtaining IP address issue is resolved or not.
Solution #7:- Reboot Your Router
Some technical problems may arise with your Router so it’s better to turn off your router for a few minutes and then restart it. Before doing this, you should click on ‘Forget password’ on your Android phone/tablet. As the Wi-Fi is fully up, just connect your device by entering a password.
Solution #8:- Delete Obsolete Files
You should delete all the obsolete files, doing so may solve the connectivity issue.
- Install ES File Explorer on your Android device.
- If asked, give it root permissions
- Now from the menu option, go to Root Explorer
- Then, go to /data/misc/DHCP/
- You need to delete all the files present there.
- Reboot your device and then check whether the connectivity problem is solved or not.
Solution #9:- Switch Off Network Notification
Follow the steps to learn, how to do so:-
- Go to Settings > Wi-Fi (WLAN) > then Additional settings
- Now, you need to turn off “Scanning always available”
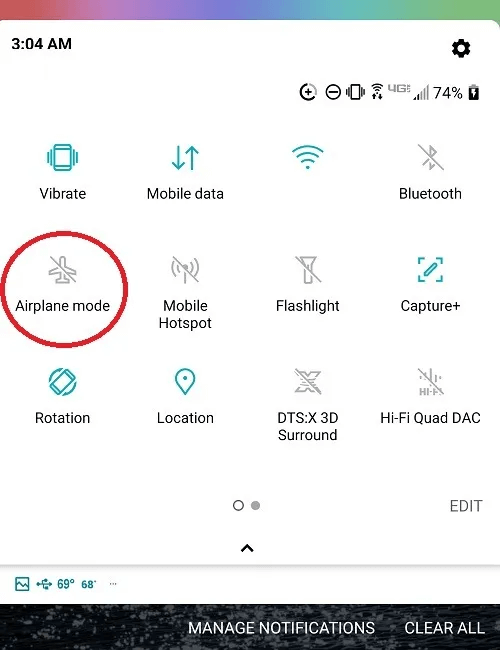
Solution #10:- Set Your Device To Airplane Mode
This solution ends up with the connectivity issue most of the time, but only temporarily. By switching on flight mode, that means you are forcing the router to reconfigure the network settings.
- Switch on flight mode/ Airplane mode.
- Wait for 10 – 15 seconds.
- Now, disable Airplane mode and check if the device is connected to the Wi-FI network.
Try the above-mentioned solutions one by one to fix “Obtaining Wi-Fi IP-address” error.
Solution #11:- Assign A Static IP
If the Wi-Fi network that you are connecting at home every time for your personal use and facing such an error then it’s better to assign a static IP address. Here you need to change the settings with the Wi-Fi network that you wish to connect.
Simply go to Settings > Network & Internet > Wi-Fi. Now press on the particular network showing the error and then choose Modify Network.

After that, tick on “Show advanced options” and choose “Static” under IP settings
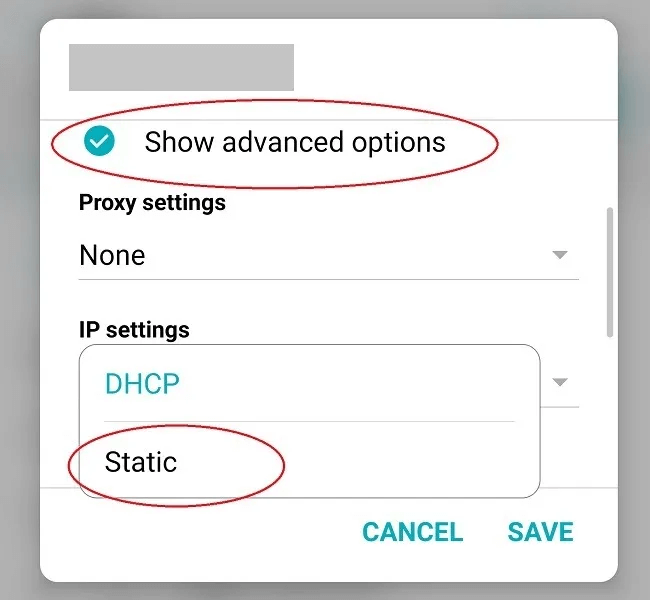
Here you need to enter an IP address like 192.168.1.XXX where XXX can be any number between 1 and 255. If you get any error like the IP address is already used then try another one.
Solution 12:- Reset Network Settings
Resetting the network can also help you to fix obtaining IP address problem in mobile. Doing this will delete all saved Wi-Fi networks and you can connect again manually.
Here is what you have to do:
- First, open Settings on your phone
- Now, choose System and then tap on Reset
- Finally, click on the “Reset Wi-Fi, mobile & Bluetooth” option
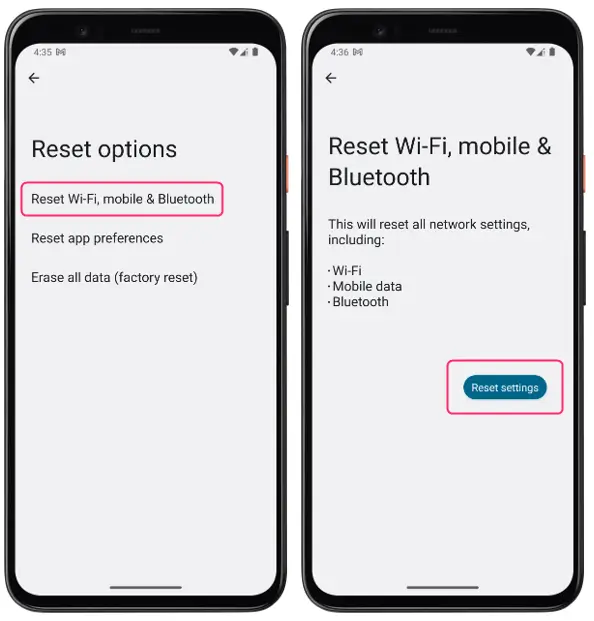
That’s it, this will reset network settings and the error will be resolved.
Solution #13:- Factory Reset Your Android Device
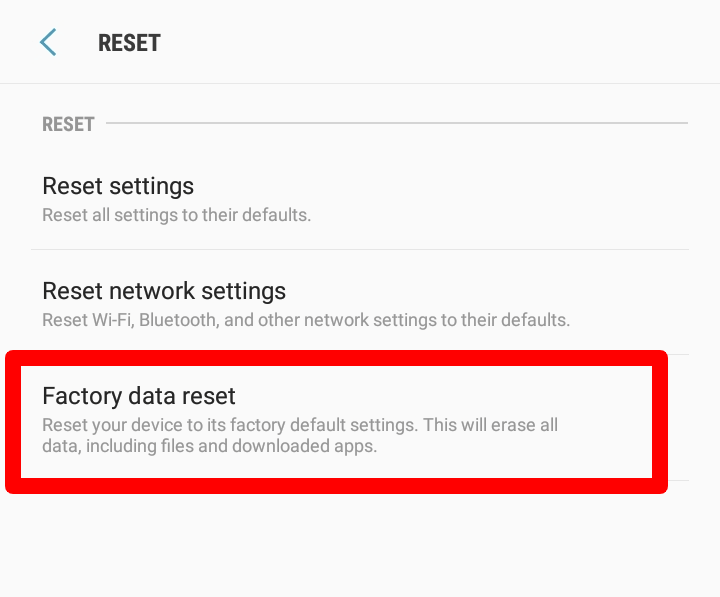
Sometimes, the error “failed to obtain IP address” occurs because of a harmful virus attack. In that case, you need to factory reset your device to get rid of the error. But before you proceed further, kindly backup all your essential stuff in a safe place.
After that, go to Settings > Accounts > Backup and reset > Factory data reset and finally click on Reset Device.
Conclusion
After reading this blog, you must have come to know that there are many reasons for “Failed to obtain IP address” issue and there are several solutions to fix it.
I hope this blog will help you to get rid of Wi-Fi Stuck “Obtaining IP Address” On Android.

Kim Keogh is a technical and creative blogger and an SEO Expert. She loves to write blogs and troubleshoot several issues or errors on Android and iPhone. She loves to help others by giving better solutions to deal with data recovery problems and other issues.